


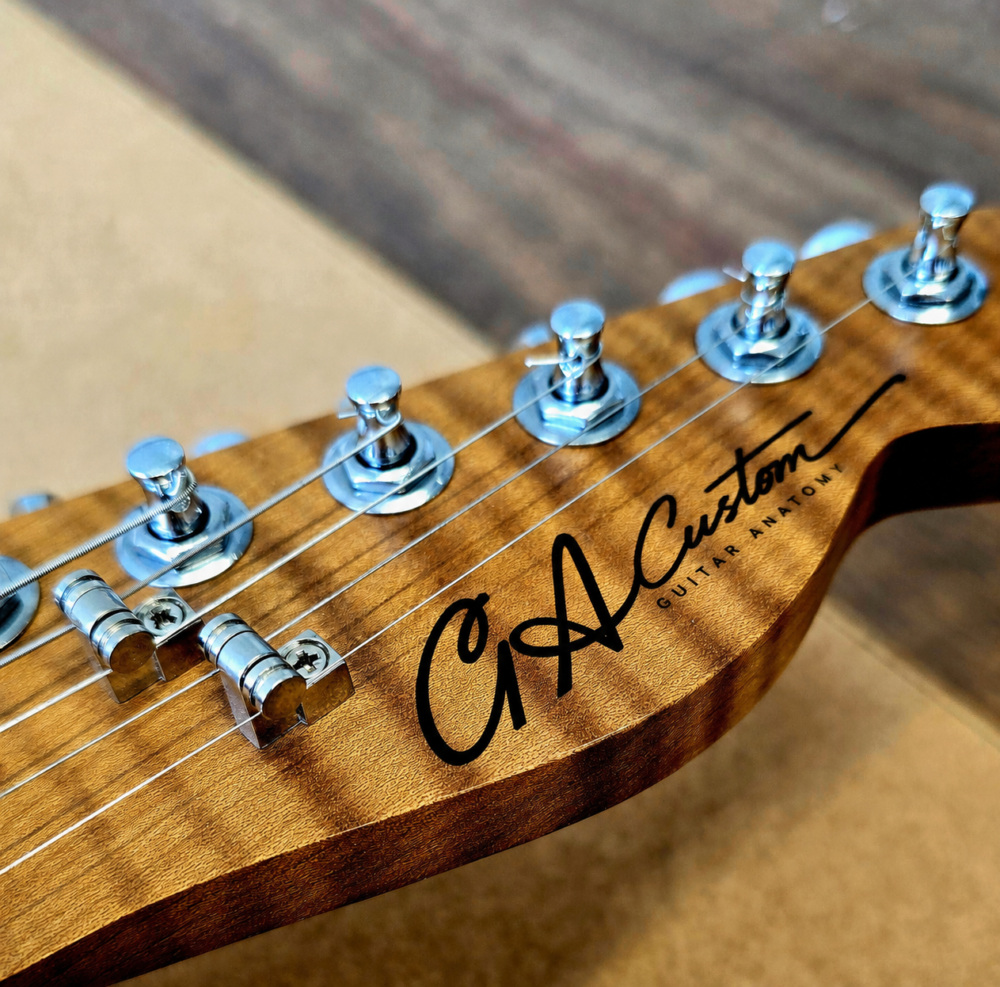
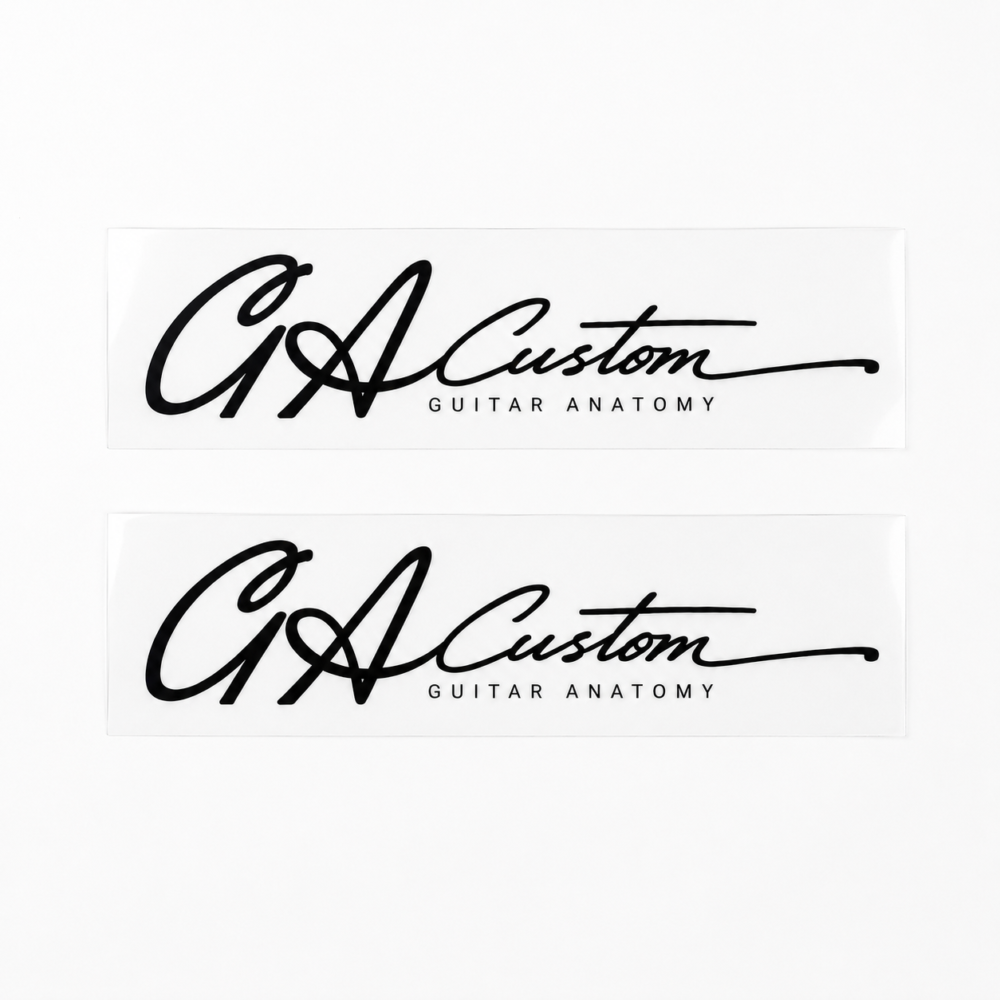


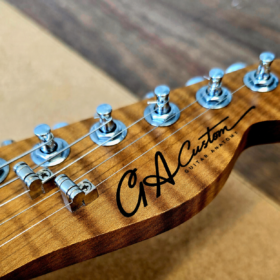
GA Custom Guitar Headstock Logo – Black Waterslide Decal – Pack of 2
£5.99
- Includes 2 identical GA Custom headstock decals
- Printed in solid black on clear waterslide decal film
- Designed for DIY guitar builds, replacement necks and restoration projects
- Thin waterslide film creates a clean, painted-on appearance
- Can be protected beneath a compatible clear finish
- Application instructions included
In stock
GA Custom Guitar Headstock Logo
A custom guitar deserves to look like a finished instrument, not simply a collection of carefully chosen parts.
The GA Custom Headstock Logo gives your build the clean, recognisable Guitar Anatomy branding, while the flowing Custom lettering makes it clear that this is not a standard production guitar. It is your own personal, one-off instrument, built to your specification and finished with pride.
At first glance, it gives the headstock a clean and professional identity. Look a little closer and the Custom script tells the real story: this guitar was built, not simply bought.
The Finishing Touch for Your Build
The headstock logo is often the final detail that brings an entire guitar together. Without one, even a carefully assembled, finished and set-up instrument can still feel slightly incomplete.
This design combines the bold GA mark with elegant Custom lettering and subtle Guitar Anatomy text underneath. The result is distinctive without overpowering the headstock, giving your custom build, replacement neck or restored instrument its own finished identity.
Designed for 6-in-Line Headstocks
Each decal measures approximately 8 cm in length and has been designed to sit neatly on most 6-in-line guitar headstocks.
Its proportions give the logo a strong presence without competing with the tuners or surrounding hardware. We recommend measuring the available space before ordering if your headstock is particularly small or unusually shaped.
A Traditional Waterslide Finish
Waterslide decals have been used by guitar manufacturers since the earliest days of the electric guitar.
Unlike a conventional adhesive sticker, waterslide decal film is extremely thin and sits closely against the surface of the headstock. This creates a much cleaner and more integrated appearance.
Sealing the decal beneath a compatible clear finish is optional, but recommended for additional protection and the most professional final result.
What You Will Receive
- 2 identical GA Custom headstock decals
- Solid black printed artwork
- Clear waterslide decal film
- Application instructions
Application
Apply the decal to a clean, smooth and properly prepared surface. Once positioned, allow it to dry fully before handling or applying any clear finish.
When sealing the decal, build the finish gradually using several light coats rather than applying one heavy coat directly over it. Always check the compatibility of your chosen finish and test your application method first.
Frequently Asked Questions
Do you offer a warranty on your products?
Yes, all of our products come with a 12-month warranty covering manufacturing defects or faults. If you experience an issue related to materials or workmanship within this period, please contact us and we’ll be happy to help.
Do you ship internationally?
Yes, we ship guitar parts worldwide from the UK. International delivery costs are shown at checkout. Depending on your country, local import taxes, duties or courier handling fees may be payable before delivery.
Do you offer free UK delivery?
Yes, UK orders over £34.99 qualify for free UK delivery. Faster delivery options are available at checkout.
How long does delivery usually take?
Orders are usually dispatched within 1–2 business days. Delivery times vary depending on your location and the service selected at checkout.
Can I return my item?
Yes, unwanted items can be returned within 30 days of receipt, provided they are unused and in their original condition. Customers are responsible for return postage unless the item is faulty or incorrect. Customised items cannot be returned unless faulty.
What if my order arrives damaged or incomplete?
Please contact us with photos of the issue as soon as possible. We’ll work quickly to resolve the problem, whether that means sending a replacement, issuing a refund, or providing another suitable solution.
Can you help me check compatibility?
Yes, if you are unsure whether a part is suitable for your build, please contact us before ordering and we’ll be happy to help.
Do you offer custom services?
We do not offer full custom product manufacturing, but we may be able to help with selected services such as tuner fitment, pre-drilling holes in bodies or necks, and similar modifications. Please contact us before ordering to discuss your requirements.
How do I care for and maintain my product?
Care instructions vary depending on the item. Please check the product description or contact us if you need advice on cleaning, storage or maintenance.
What payment methods do you accept?
We accept a range of secure payment methods, including credit/debit cards, PayPal and Klarna. Payments are processed through trusted third-party payment providers.
Do you offer discounts or promotions?
Yes, you can sign up to our Build Club mailing list using the sign-up box at the bottom of our website for access to promotions, product updates and special offers.
| Weight | 0.01 kg |
|---|---|
| Dimensions | 15 × 13 × 0.3 cm |
Add a review
 GA Custom Guitar Headstock Logo – Black Waterslide Decal – Pack of 2
Your review
* Review is required
Name
* Name is required
Email
* Email is required
Add photos or video to your review
0%
0%
0%
0%
0%
0 of 0 reviews
Sorry, no reviews match your current selections